How to boost Webflow SEO
A checklist of 30 technical SEO improvements you can implement today.
I recently had my website completely de-ranked by Google. So, I decided to take a hard look at SEO, and boy, did I discover a world of opportunities.
Based on hours of research, I’ve put together a checklist I now use to improve what’s called technical SEO.
Technical SEO is what you, as a Webflow developer, can do to improve site ranking in search engines.
For quick navigation, here is the table of contents:
1. Technical SEO Basics
Title Tags and Meta Description
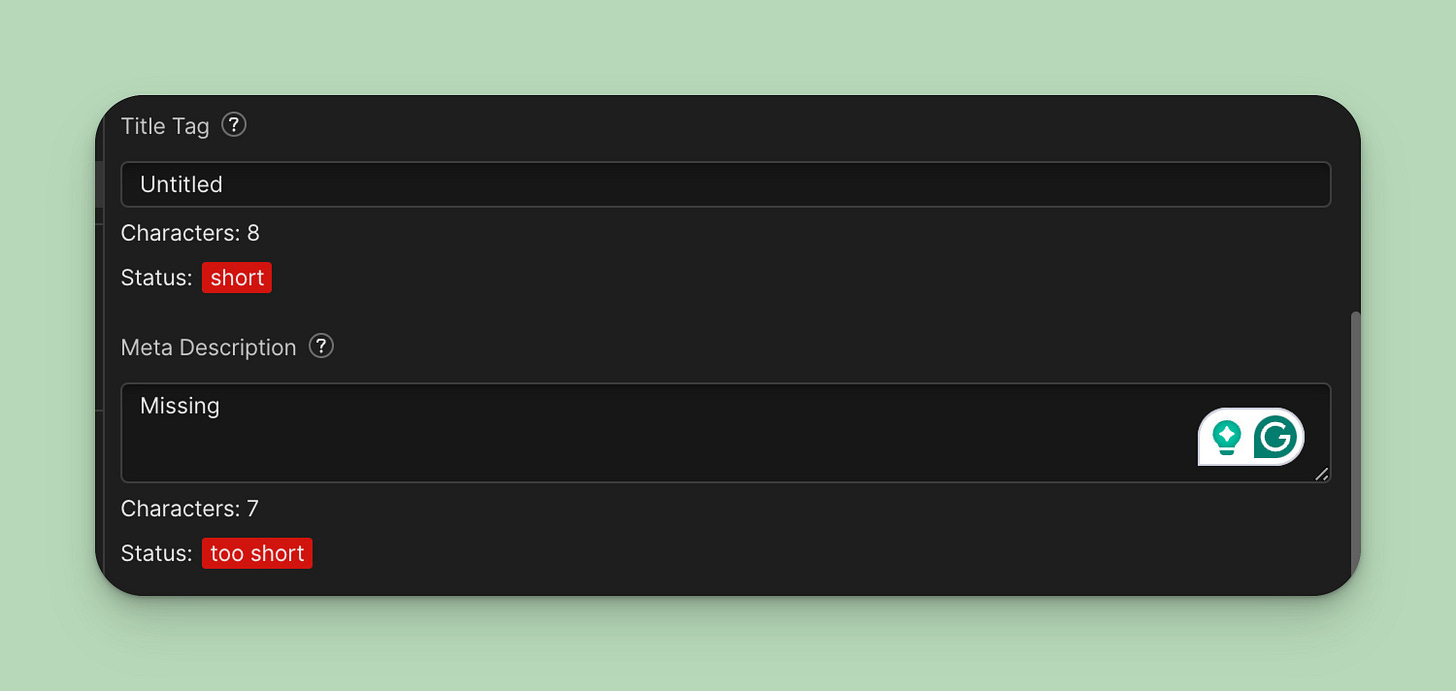
Every page on your site should have a well-written title tag and description. The ideal length is 60 characters for the title tag and 160 for the meta description. Otherwise, Google will truncate it. Set it in your page settings.
Pro tip: There’s a great Chrome extension called AidKit that I discussed in my post on Webflow productivity. It checks the length of your title tag and meta description.
For collections, you want to set title tags and meta descriptions to populate with each collection item dynamically. I recommend creating a dedicated plain text field for title tags and meta descriptions. Add these fields as variables in your template page settings. You can also set a maximum character count limit to ensure it always looks great.
Open graph settings
I usually keep my open graph title and description identical to the page settings. I always set an open graph image. It’s a good idea to spend some time designing an attention-grabbing image.
Pro tip: AidKit can help here again, as it creates a checkbox that lets you quickly set the same OG image as you have on your home page.
Keeping URLs short
I only recently discovered this, but short URLs tend to outrank long URLs. A study by Backlinko backs this up. Webflow automatically creates a slug for every page you create. It’s a good idea to edit this slug for shortness. Just ensure that if you’re editing an existing page, you set a 301 redirect.
Fix duplicate content
Fixing duplicate content is especially relevant if you have a lot of it, like on a blog or online store. Duplicate content can happen not only by having two identical posts. It often happens when you have similar blog or shop categories/tags. If one category page displays identical posts as another, Google will think it’s a duplicate.
To avoid duplicate content, you can do two things: add unique descriptions to each category or tag page. This will tell Google it’s a different page. Alternatively, you can tell Google not to index a specific category page by enabling “Exclude this page from site search results“ in your Webflow page settings. Just note that this will create an error in your Google Search Console.
Set Global Canonical Tags
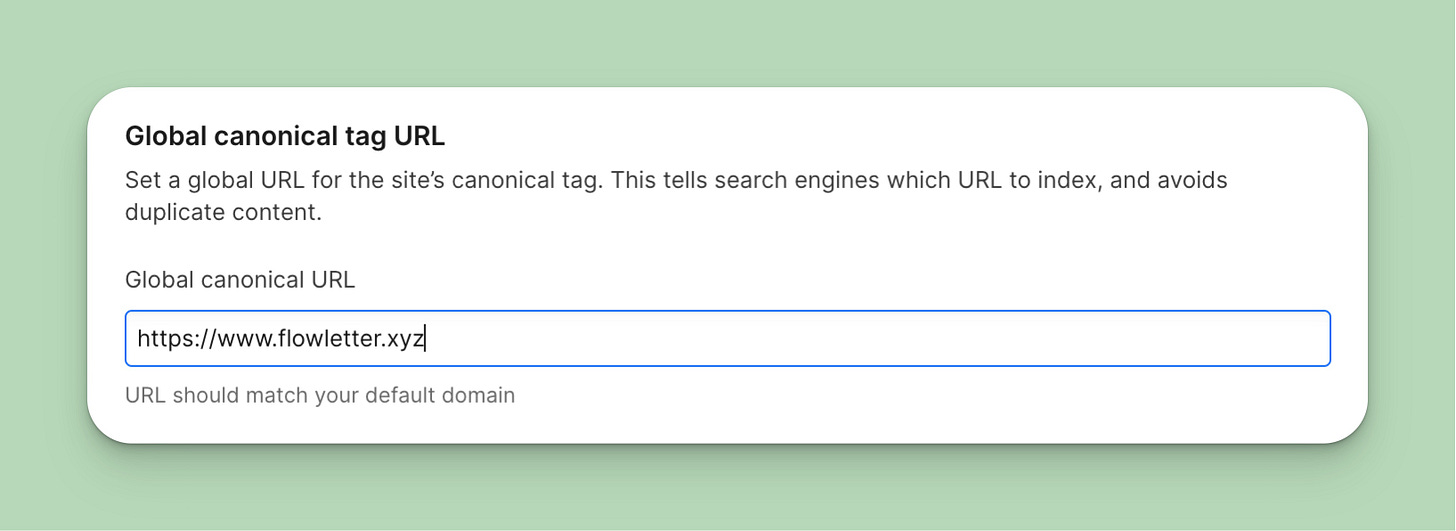
A canonical tag tells Google which URL leads to the original page. One thing to note is that Google looks at https://flowletter.xyz and https://www.flowletter.xyz as two different pages. Even adding “/” at the end of your URL is a different page in Google’s eyes. So, it’s a good idea to tell Google which of your URLs it should index.
To do so, go to your Site Settings, under SEO, find the Global canonical tag URL, and input your default domain URL. Webflow will automatically append the slugs for all your pages.
Set your www URL as your default
If you’re using a custom domain, you’ll notice two versions of the domain: one with www and one without. It’s best to use the one with www as your default domain. If you do so, ensure that your canonical domain, set in the step above, matches your default domain.
Use Google Search Console
Google Search Console will allow you to see any issues you might have with ranking on Google. When I got de-ranked from Google, I saw the drop in my Google Search Console. You’ll also be able to track performance and see what keywords you’re ranking for. Here’s a video guide on connecting your Webflow site to Google Search Console.
Add your sitemap.xml to Google Search Console
Adding a sitemap to Google can speed up the indexing of your pages. To add a sitemap, head over to your Site settings in Webflow, under SEO, find the Auto-generate sitemap toggle, and turn it on.
You’ll find your sitemap at “your-site.com/sitemap.xml”. Once you’ve grabbed your sitemap URL, head over to Google Search Console and, under Sitemap, submit your sitemap.
Ensure heading hierarchy
Your headings should follow a clear structure. Your H2 should be a subtopic of your H1; your H3 should be a subtopic of your H2, etc. You shouldn’t have more than one H1 on a page. Also, make sure you never skip a heading level. So, an H1 should not be followed by an H3 but by an H2.
Use Image Alt Tags
Alt tags serve two goals. First is accessibility – they tell people with screen readers what’s on an image. Second, is a failsafe – when your image fails to load, alt tags are displayed instead.
Because of this, it’s important to keep your alt tags descriptive. Try your best to describe what’s in the image.
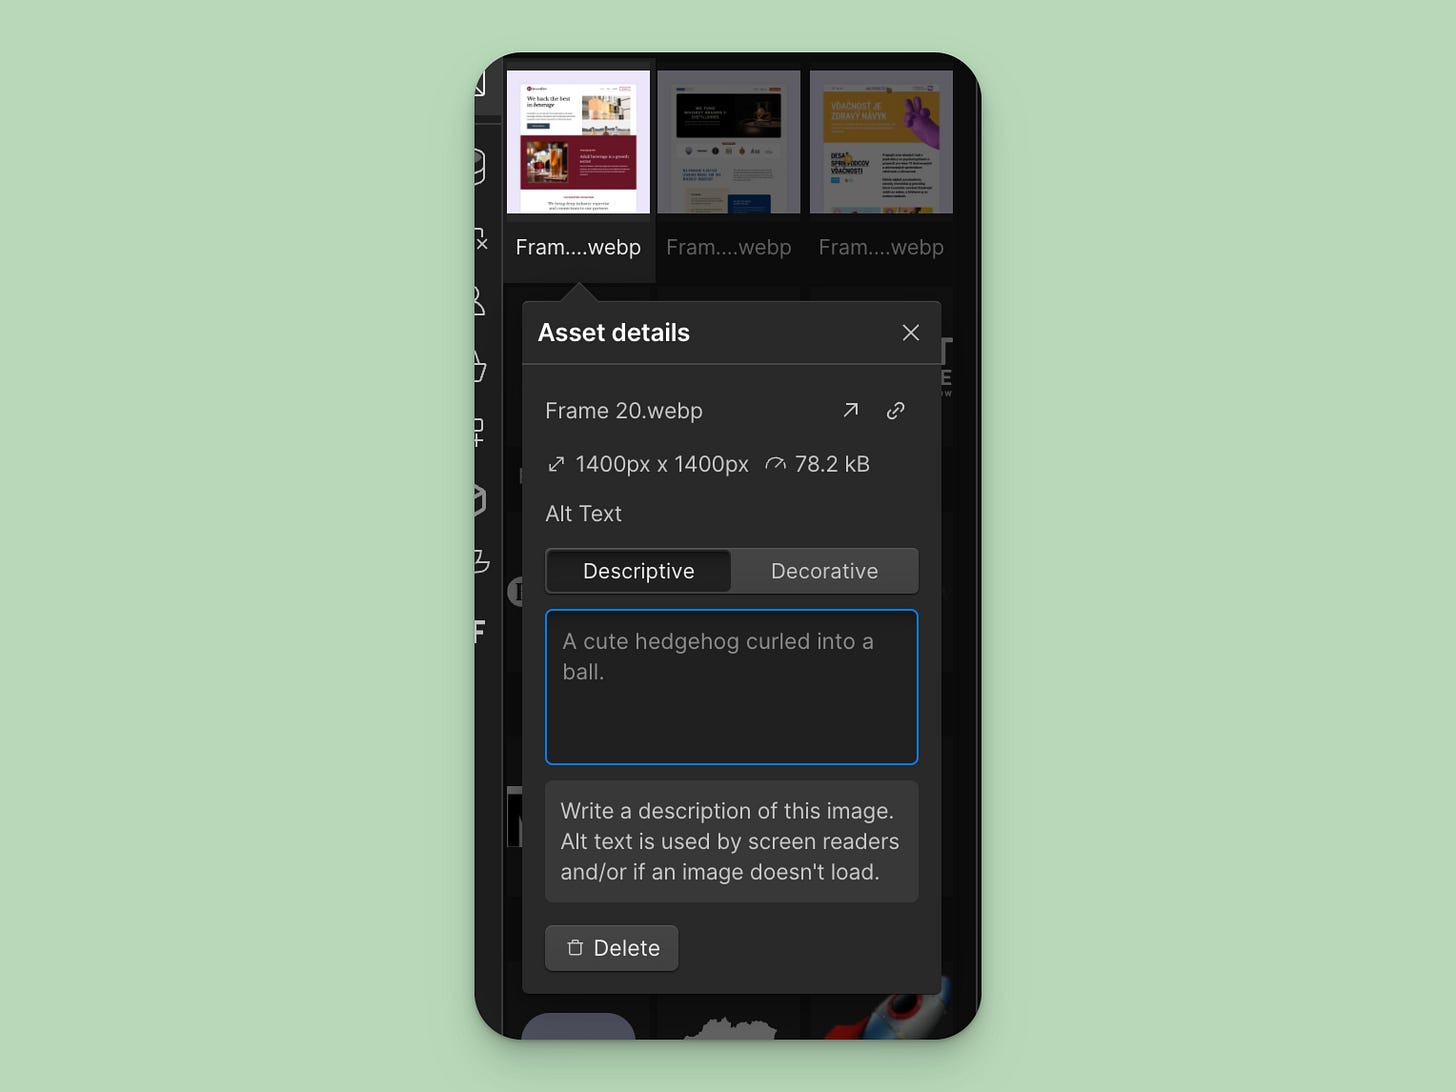
For static images in Webflow, use the image settings in the Asset panel. This sets a global alt tag for all instances of this image on your site.
For images in your collections, create a dedicated plain text field that will serve as your image alt tag and connect it to your image placeholder in your collection template.
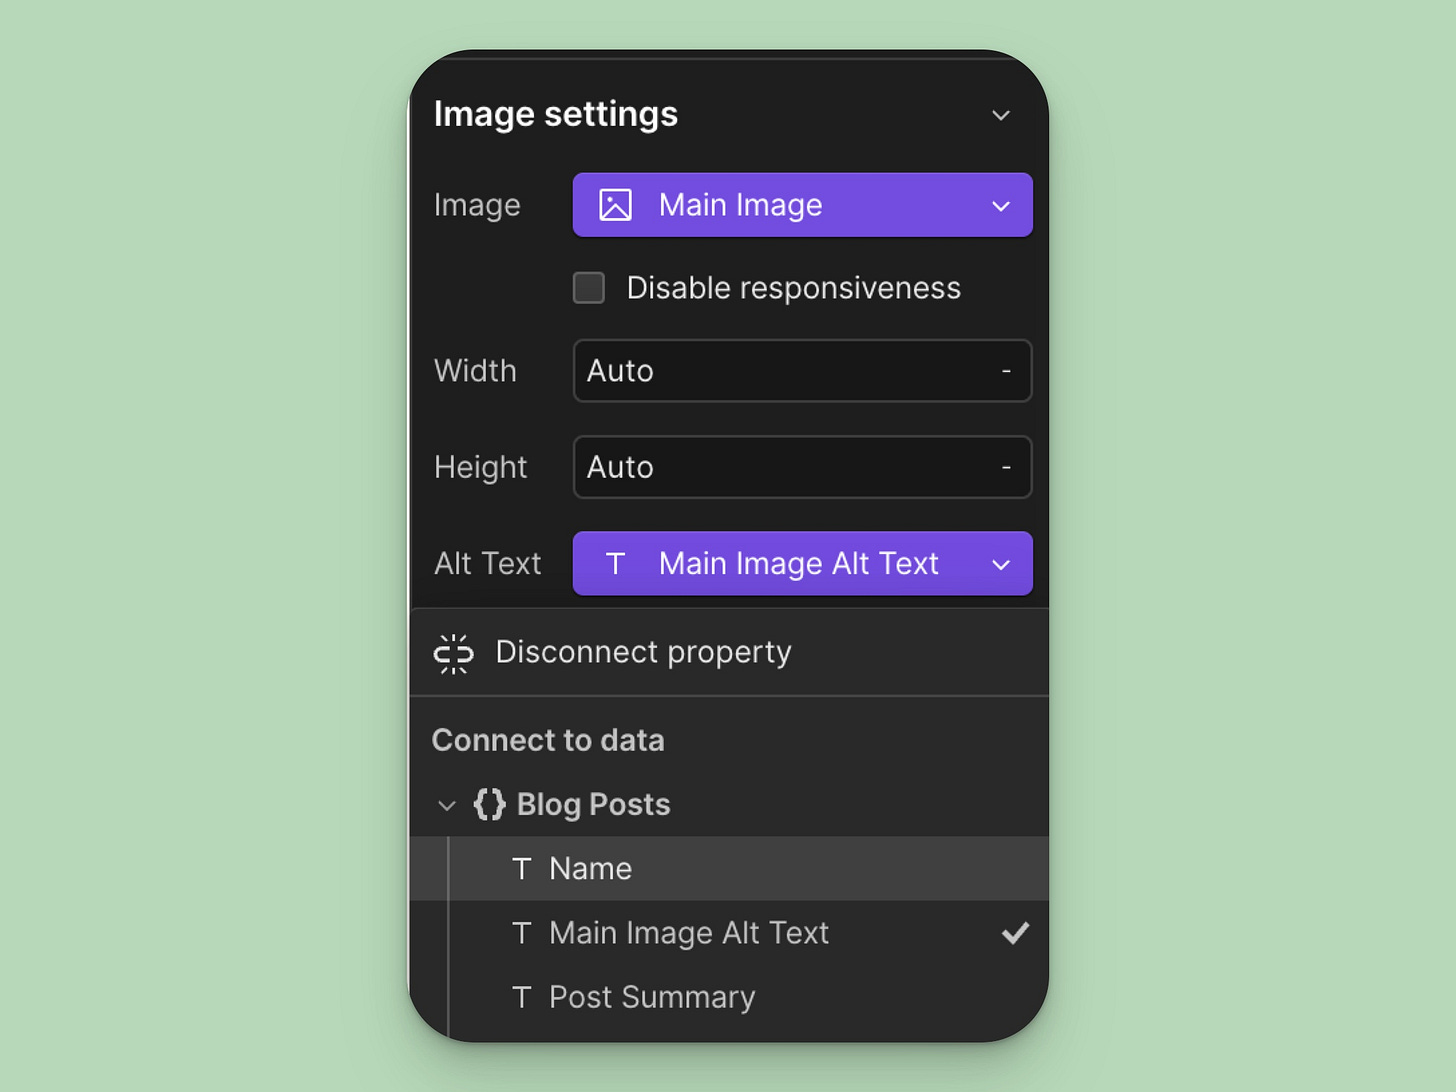
Also, set alt tags for images in your rich text. You can do this in collections by clicking the image and the wrench tool icon. This will open up image settings and let you set the alt text.
2. Web Accessibility
Optimize your website for mobile
Make sure your site is mobile-optimized. There are a few things you can check here.
First, make sure your site is not breaking on smaller screens. There should be no unwanted horizontal scroll, overlapping elements, hidden elements, or overly small or large fonts.
Make your typography accessible
Use REMs for text instead of pixels. Users with poorer vision tend to set their default browser font size to larger. By using REMs, your fonts scale with the browser font size. Using pixels overrides the default user settings.
Check your color contrast
You should have a good contrast ratio between your font and background colors. Webflow makes this easy to check with a built-in color contrast checker. Make sure you have at least an AA score.
Pro tip: One thing to note is that if you use color variables, you won’t see the contrast checker. In this case, I manually check my contrast using an online contrast check.
Set paragraph line height and length
Your paragraph line height should never be under 1.3. An ideal range is between 1.3 and 1.7.
Your line length for paragraphs should be between 45 and 75 characters. This ensures easy legibility.
On that note, left-align your text, especially blog posts and longer text.
Keep a flat site structure
Your site structure should be flat and keep as few levels as possible. Also, ensure you don’t have orphaned pages—pages that don’t link to any other page on your site.
Build a human-readable sitemap
In addition to having an XML sitemap, you can add a “human-readable“ sitemap page to your site. Here’s what Webflow’s sitemap looks like.
Build internal links
Link content inside your page where it makes sense. This can link to your site’s related posts, products, etc. For instance, add a “Related posts“ section at the bottom of your blog post template.
Note that Google pays attention to what’s inside the link description. Don’t use generic words like “here.“ Instead, describe what’s behind a link.
Pro tip: if you have a lot of content, you can also use AutoLink.ai, a Webflow app for internal link building like.
Add breadcrumb navigation
This is a good tip for websites with three or more layers in their structure. Adding a breadcrumb menu helps visitors quickly return one level up and speeds up navigation.
Pro Tip: Webflow now lets you nest your collection templates inside folders. This means you can create a layered structure if you have a lot of content. Your breadcrumb could look like this: Home / Blog / Guides / An awesome guide. Web Bae has a video tutorial on setting up nested collections and building a breadcrumbs menu.
Use structural, semantic HTML tags
Semantic HTML tags add meaning to your DIVs. SEMrush has a great graphic that explains this.
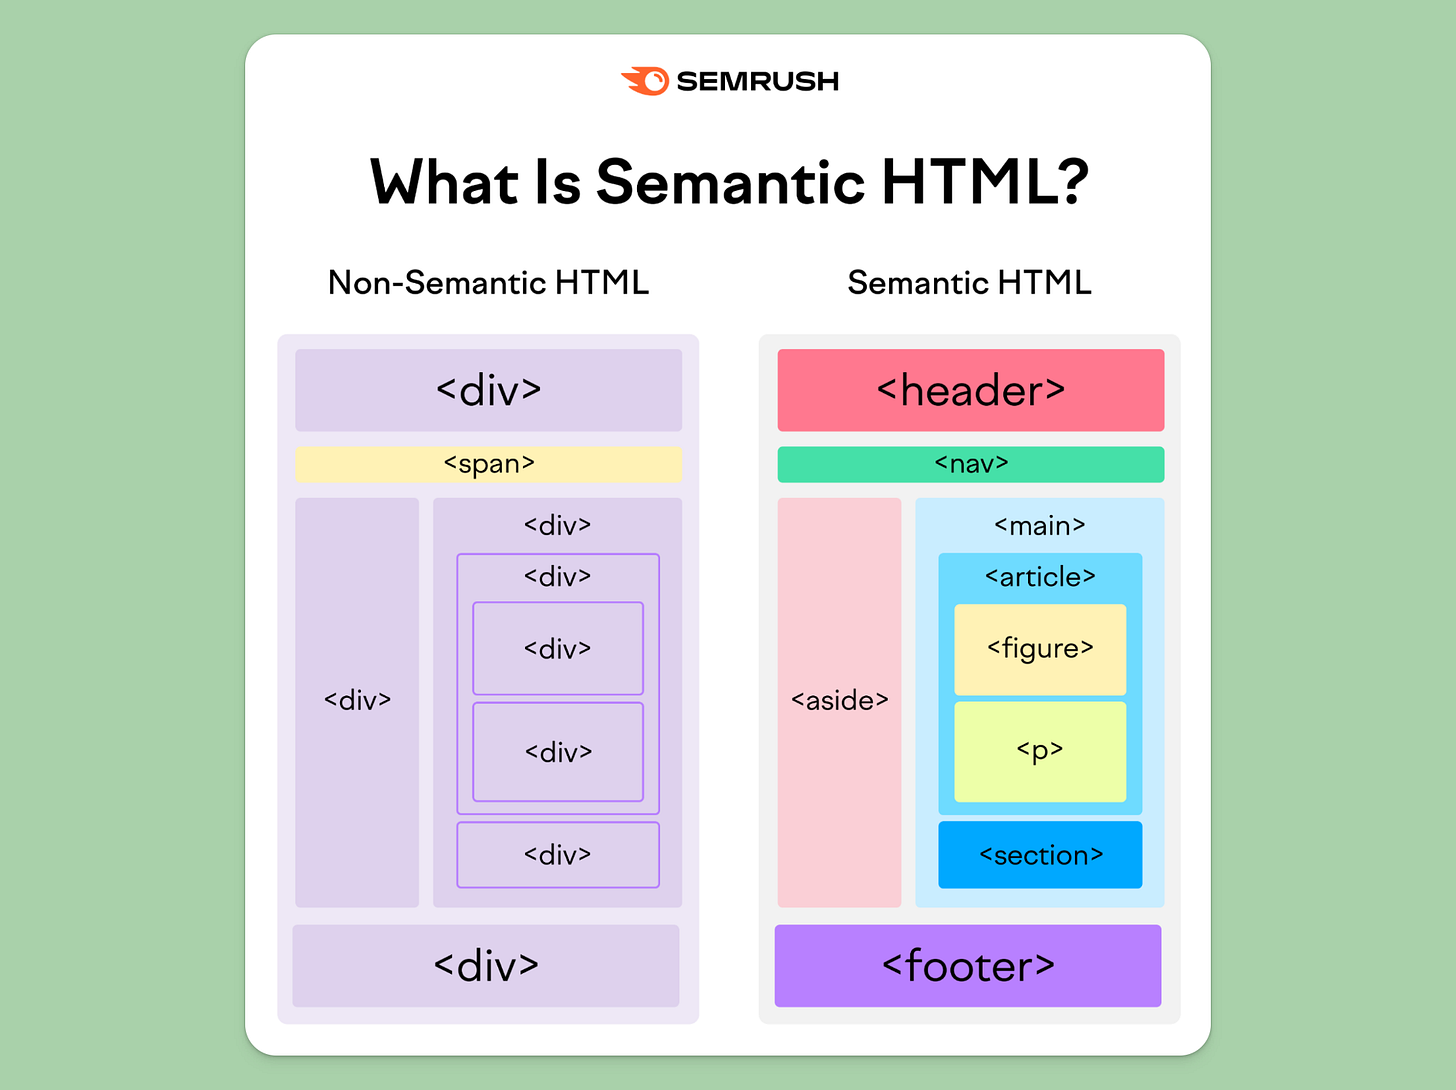
You can set up semantic tags for any DIV by accessing its Settings tab on the right.
Header: Usually, this is your nav bar.
Nav: Used to wrap navigation links, the Nav tag can be nested within the header tag but is also used elsewhere for secondary navigation.
Main: This tag encapsulates the main content or body of a page, with only one per page.
Section: This divides the content in the Main tag into sections. Note that this is different from the Section element used in Webflow.
Article: Used for independent, self-contained content like blog posts, news, etc.
Aside: Content not directly related to the main content on your page. This is used for sidebars with ads, related articles, etc.
Footer: This is your footer section.
Remove broken links
Once you start building internal links, you may eventually encounter broken links. This happens when you change the slugs of your pages without a proper redirect or move content around. Use an extension like Check My Links to find broken links on your page.
3. Core Web Vitals
Google started measuring these metrics and giving websites a score. Your CWV score influences your Google rankings, so it’s a good idea to optimize it.
To see your Core Web Vitals, you can use Google’s Lighthouse feature in Chrome. Head over to your website, open the Inspect panel (right-click anywhere and click Inspect), and in the top tabs, you’ll see Lighthouse (it might be hidden under »).
We’ll be looking at two metrics. The first is LCP–Largest Contentful Paint, which refers to the time it takes for your entire page to load. The second is FID—First Input Delay, which refers to the time it takes for your website to become interactive.
Factors that influence LCP
Slow server response time
Render blocking JavaScript or CSS
Slow resource load times
Client-side rendering
Factors that influence FID:
Long tasks
Long JS execution
Large JS bundles
Render blocking JavaScript
One thing to note–while spending time getting your numbers in the green is a good idea, it’s usually not worth trying to get to a perfect score of 100. The difference between a score of 92 and 100 won’t mean much in terms of search rankings. Backlinko has benchmarks for each CWV score that will guide you.
Self-host your Google Fonts
Webflow allows you to access Google Fonts directly via the Google Font API. While this is a fast way to add fonts to your site, it can also slow it down.
Look at the comparison here:
Getting a .woff2 file for self-hosting a Google Font is more complicated than it seems. If you download the font directly from Google Fonts, you only get the .ttf version, which is not ideal for modern browsers.
To quickly get the .woff2 version, you can use Google Webfonts Helper. Once you have the files, upload them as Custom fonts in your Webflow’s site settings under Fonts.
Avoid using Webflow’s re-captcha
The native re-captcha slows down your site as it deploys the re-captcha script across your site and loads it with every page load.
If you have to use re-captcha, I recommend integrating it using custom code and only adding it to the page you need it on, not globally.
Minify your code
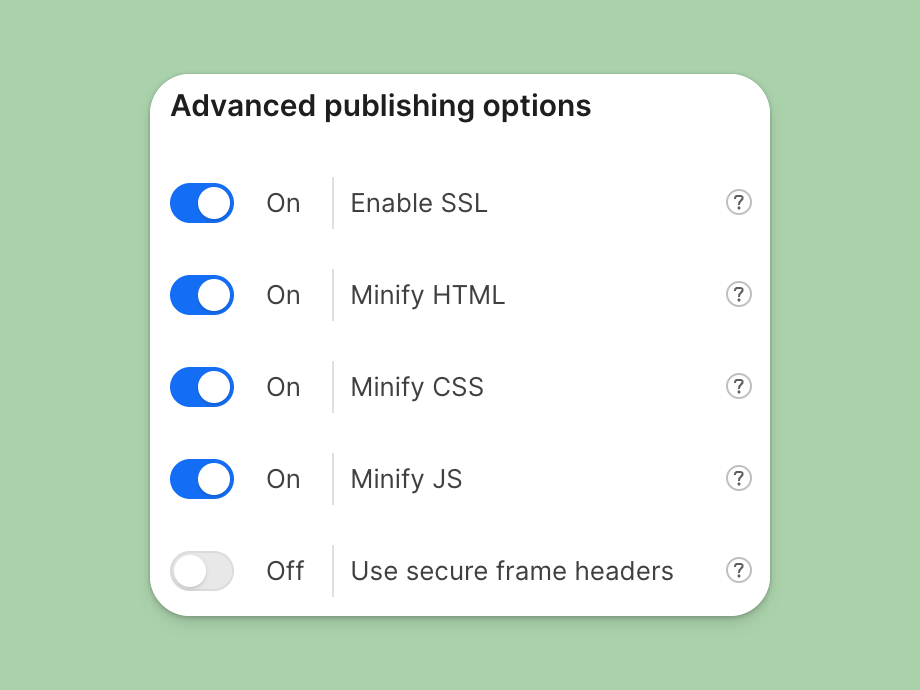
Webflow makes this super easy. Go to the Publishing section in your Site settings, and under Advanced publishing options, toggle Minify HTML, Minify CSS, and Minify JS.
Don’t overdo it with interactions
When you scroll through Made in Webflow, you might be tempted to slap a bunch of interactions to your site to make it stand out.
But beware: This comes with an SEO penalty. That might be okay if your client doesn’t rely on SEO for their traffic. But in all other cases, it’s best to go gently with interactions.
It’s a good idea to use CSS animations instead of interactions when possible. In Webflow, you can create CSS animations using the Styles panel.
Delete unused styles and interactions
As you build your site, you’ll create styles and interactions you won’t use in the final version. Make sure you clean up these styles and interactions.
To delete unused styles, head to the Style Selector in the left panel (or press G) and click on the broom in the top right corner.
To delete interactions, head to the Interactions panel on the right and click on the broom.
Pro tip: if you’re using classes in your custom code, those might get deleted, as Webflow won’t see them as used classes. So beware of that.
Delete unused 3rd party scripts
Similarly to unused styles and interactions, you might have unused custom code. Go through your pages and delete them.
Optimize images
There are two things you can do to optimize your images. The first is to use the proper size. If an image is only 500px wide on your page, there’s no reason to upload a width of 3000px. So, make sure to resize all your images. To optimize for retina displays, make the picture twice the size of the picture you’ll use on your website. If you do so, enable the “Image is HiDPI“ option in Image Settings.
The second thing you can do is compress your images into .webp. Webflow makes this process easy, allowing you to compress your images in the Assets panel. Go to your Assets panel, click the expand arrow on the right, and select the images you want to compress.
Pro tip: As awesome as Webflow is, it doesn’t compress images uploaded to CMS collections. So make sure these are compressed before being uploaded. You can use an online image compressor, or if you have many images, there’s a third-party app called Optily that compresses collection images for you.
Avoid Cumulative Layout Shift
Cumulative Layout Shift is when the content on your page shifts as it loads. For instance, your page first loads without images; once the images load, the content is shifted. Google frowns at this, and it will impact your CWV score.
Things that can cause CLS are:
Images without dimensions
Ads, embeds, and iframes without dimensions
Dynamically injected content
Webfonts causing unstyled content
To fix this, you can do the following:
Always add size attributes to your images and videos. Just look up the size of your image and declare it in your image settings.
Animate elements using transforms instead of changing the element width and height.
Avoid dynamically inserting elements above other elements. For instance, an animation that inserts an element on delay causes the layout to shift.
4. Other tips
Implement Google Rich Snippets
Search results that appear as cards, bullet points, etc, on Google’s result page use Google Rich Snippets. This is a bit of code that tells Google how to format content.
While this will not improve your SEO directly, it can lead to stand-out search results.
To implement Rich Snippets using Schema, watch Michael Miello’s video.
Use SEMflow to run an audit of your Webflow site
SEMflow is a popular paid Webflow app that runs an audit and helps you fix the most common SEO issues. It’s not a replacement for this complete checklist but an excellent assistant.
Make my day, share Flowletter 💌
If you enjoyed this post, share it on your socials. It will help me grow awareness and build this awesome community.
I’m running a leaderboard for top sharers; if you’d like to join and get an extra perk, click the button below👇










This is really useful and I really feel that it has taken years to accumulate this knowledge. Thanks for sharing! I'm gonna go through all these posts again soon when I finish my next website.
Great resource! Thank you for putting this together!